


How to Create a Custom Web Form View in Odoo 18
Updated on : 14 JULY 2025
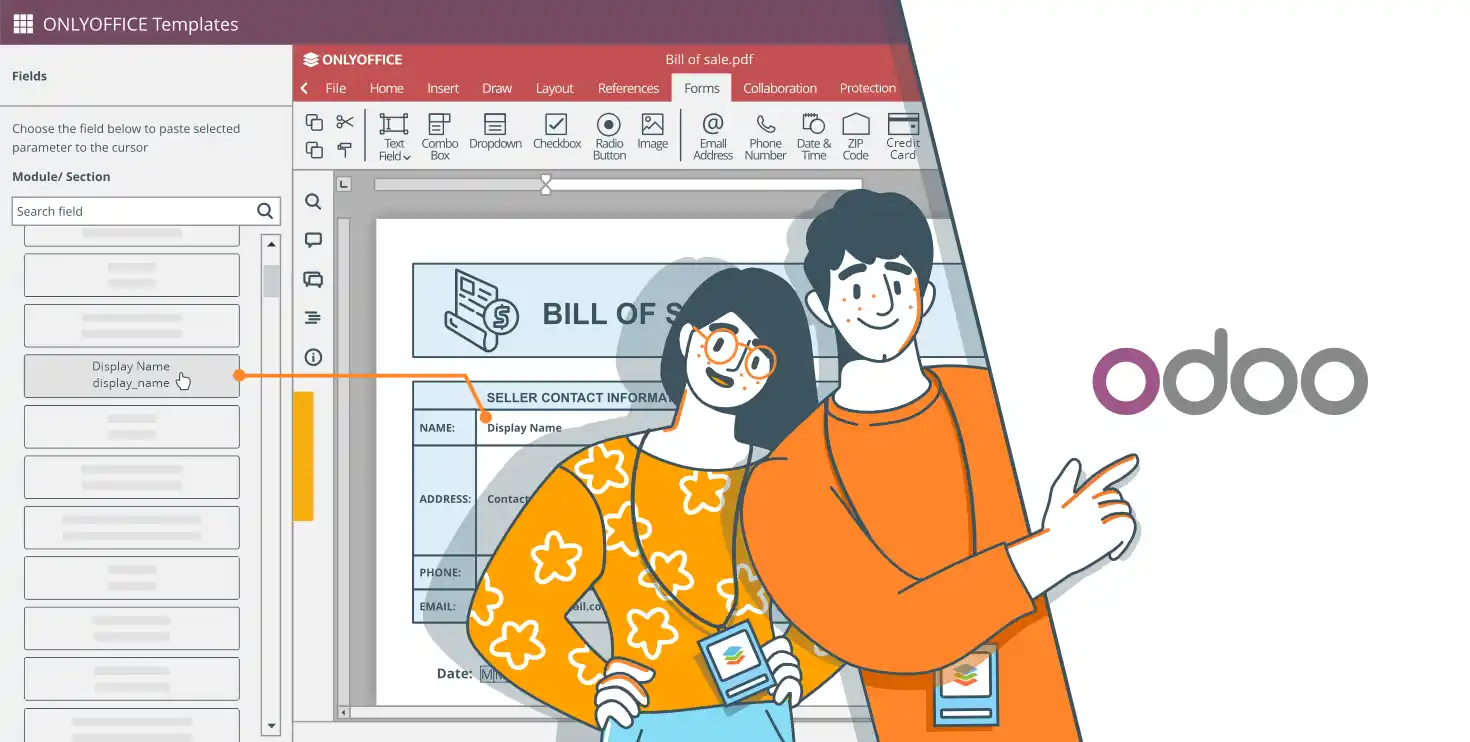
Image Source: google.com
Table Of Contents


How to Create a Custom Web Form View in Odoo 18

Image Source: google
Building user-friendly web forms is a key part of many business apps, and Odoo 18 makes it super simple to create and add custom forms to your system. Whether you want to gather customer questions, collect feedback, or simplify internal data entry, a custom web form can really boost your workflow. In this blog, we’ll guide you step-by-step on how to create a custom web form in Odoo 18, covering the technical setup and sharing practical tips to make sure your form works smoothly with Odoo’s backend.
We’ll break it down clearly so you can easily create tailored, effective web forms that fit your needs.
Creating the Model
To get started, you’ll need to create a data model that your web form will use. In this guide, we’ll make a simple model called "Booking" to store important info like the user’s name, email, and phone number.
from odoo import models, fields
class Booking(models.Model):
   _name = 'custom.web.form.booking'
   _description = 'Booking Form'
   name = fields.Char(string='Name')
   email = fields.Char(string='Email')
   phone = fields.Char(string='Phone')
   date = fields.Date(string='Date')
This model serves as the backbone for saving form submissions and will be used later to display the form on your website.

Need a custom UI that stands out? Let Hexadecimal build it.

Adding a Menu Item
To let users easily find your custom web form on the website, the next step is to create a menu item named "Booking." This will appear in the site’s main navigation menu and take users directly to your form page. You’ll need to set up this menu in an XML file.
Note: Your module must depend on the 'website' module for this to work correctly.
<?xml version="1.0" encoding="UTF-8" ?>
<odoo>
   <record id="website_booking_menu" model="website.menu">
       <field name="name">Booking</field>
       <field name="url">/webform</field>
       <field name="parent_id" ref="website.main_menu"/>
       <field name="sequence" type="int">90</field>
   </record>
</odoo>
This XML snippet creates a menu item named Booking that links to the URL path '/webform'.
You Might Also Like

HTML vs HTML5: Key Differences
By Hexadecimal Software Team
on 2025-04-18

How to Use Odoo Runbot: A Comprehensive Guide
By Hexadecimal Software Team
on 2025-04-22

Difference Between Website Pages and web pages : Explained Simply
By Hexadecimal Software Team
on 2025-05-30

Building a Scalable Web Application on localhost 3000
By Hexadecimal Software Team
on 2025-06-06
Creating the Controller
Now that the model and menu are set up, it’s time to create a controller to handle the form’s front-end and back-end logic. The controller will take care of displaying the form page and processing the data when users submit it.
from odoo import http
from odoo.http import request
class WebFormController(http.Controller):
   @http.route('/webform', auth='public', website=True)
   def display_web_form(self, **kwargs):
       return request.render('custom_web_form.web_form_template')
   @http.route('/webform/submit', type='http', auth='public', website=True, methods=['POST'])
   def handle_web_form_submission(self, **post):
       request.env['custom.web.form.booking'].sudo().create({
           'name': post.get('name'),
           'phone': post.get('phone'),
           'email': post.get('email'),
       })
       return request.redirect('/thank-you-page')
This controller sets up two routes:
- One to display the form at '/booking'
- Another to process the form submission at '/booking/submit'
Designing the Form Template
Now that the model, menu, and controller are ready, it’s time to create the user interface—the web form itself. You’ll do this by building an XML template that sets up the layout and input fields for users to interact with on the website.
The XML snippet below shows how to set up the form. It includes fields for the user’s name, phone number, and email, plus a submit button.
<template id="web_form_template">
  <t t-call="website.layout">
  <div id="wrap" class="oe_structure oe_empty">
  <section class="s_website_form">
  <div class="container">
  <form action="/webform/submit" enctype="multipart/form-data" class="o_mark_required" method="POST">
  <input type="hidden" name="csrf_token" t-att-value="request.csrf_token()"/>
    <div class="row">
      <!-- Name Field -->
      <div class="form-group col-12">
      <div class="row">
      <label class="col-form-label col-sm-auto" style="width: 200px;" for="name">
      Name<span class="text-danger"> *</span>
      </label>
      <div class="col-sm">
      <input id="name" type="text" class="form-control" name="name" required="1"/>
      </div>
      </div>
      </div>
      <!-- Phone Field -->
      <div class="form-group col-12">
      <div class="row">
      <label class="col-form-label col-sm-auto" style="width: 200px;" for="phone">
     Phone<span class="text-danger"> *</span>
      </label>
      <div class="col-sm">
      <input id="phone" type="text" class="form-control" name="phone" required="1"/>
     </div>
      </div>
      </div>
      <!-- Email Field -->
      <div class="form-group col-12">
       <div class="row">
     <label class="col-form-label col-sm-auto" style="width: 200px;" for="email">
      Email<span class="text-danger"> *</span>
      </label>
       <div class="col-sm">
        <input id="email" type="email" class="form-control" name="email" required="1"/>
        </div>
         </div>
      </div>
      <!-- Submit Button -->
       <div class="form-group col-12">
       <div style="width: 200px;"></div>
       <button type="submit" class="btn btn-primary">Submit</button>
       </div>
        </div>
      </form>
      </div>
       </section>
     </div>
   </t>
</template>
This template uses Odoo's standard website layout and styling, keeping the form clean and responsive.

Need a stunning interface? Hexadecimal Software crafts front ends that wow.
How Data Is Saved to the Backend
In the booking_submit method of your controller, the code below takes care of saving the data users submit:
request.env['custom.web.form.booking'].sudo().create({
   'name': post.get('name'),
   'phone': post.get('phone'),
   'email': post.get('email'),
})
Here’s how it works:
kwargs.get('field_name')pulls the data users enter into the form fields.
request.env['booking.model'].sudo().create({...}) saves a new record in the Booking model with those values.
sudo() is used to skip permission checks, ensuring the form works for public users.
By following these steps, businesses can easily create custom forms for various purposes, like collecting leads, gathering feedback, or managing customer questions. With Odoo’s flexible framework, companies can improve their online presence, increase engagement, and strengthen connections with their audience.
FAQs
Q.1. What is a custom web form in Odoo 18?
A: A custom web form is a user-friendly interface on your Odoo website that allows users to submit data, like customer inquiries or feedback, directly to your Odoo database.
Q.2. Do I need coding skills to create a custom web form in Odoo 18?
A: Basic knowledge of Python, XML, and Odoo’s framework is helpful, but Odoo Studio can simplify the process for non-coders.
Q.3. What is the first step to create a custom web form?
A: Start by defining a model in Odoo (e.g., a "Booking" model) to store the form’s data, including fields like name, email, or phone number.
Q.4. How do I make the form accessible on my website?
A: Add a menu item in an XML file under the website’s main menu to link to your form page.
Q.5. What role does a controller play in the web form?
A: The controller handles the form’s logic, rendering the form page and processing submitted data to save it in the Odoo database.


Buy, Sell & Rent Properties – Download HexaHome App Now!

Find your perfect home, PG, or rental in just a few clicks.

Post your property at ₹0 cost and get genuine buyers & tenants fast.

Smart alerts & search helps you find homes that fit your budget.
Available on iOS & Android
Available on iOS & Android


Scan to Download our App
Available on iOS & Android – Download Now!

A Product By Hexadecimal Software Pvt. Ltd.